
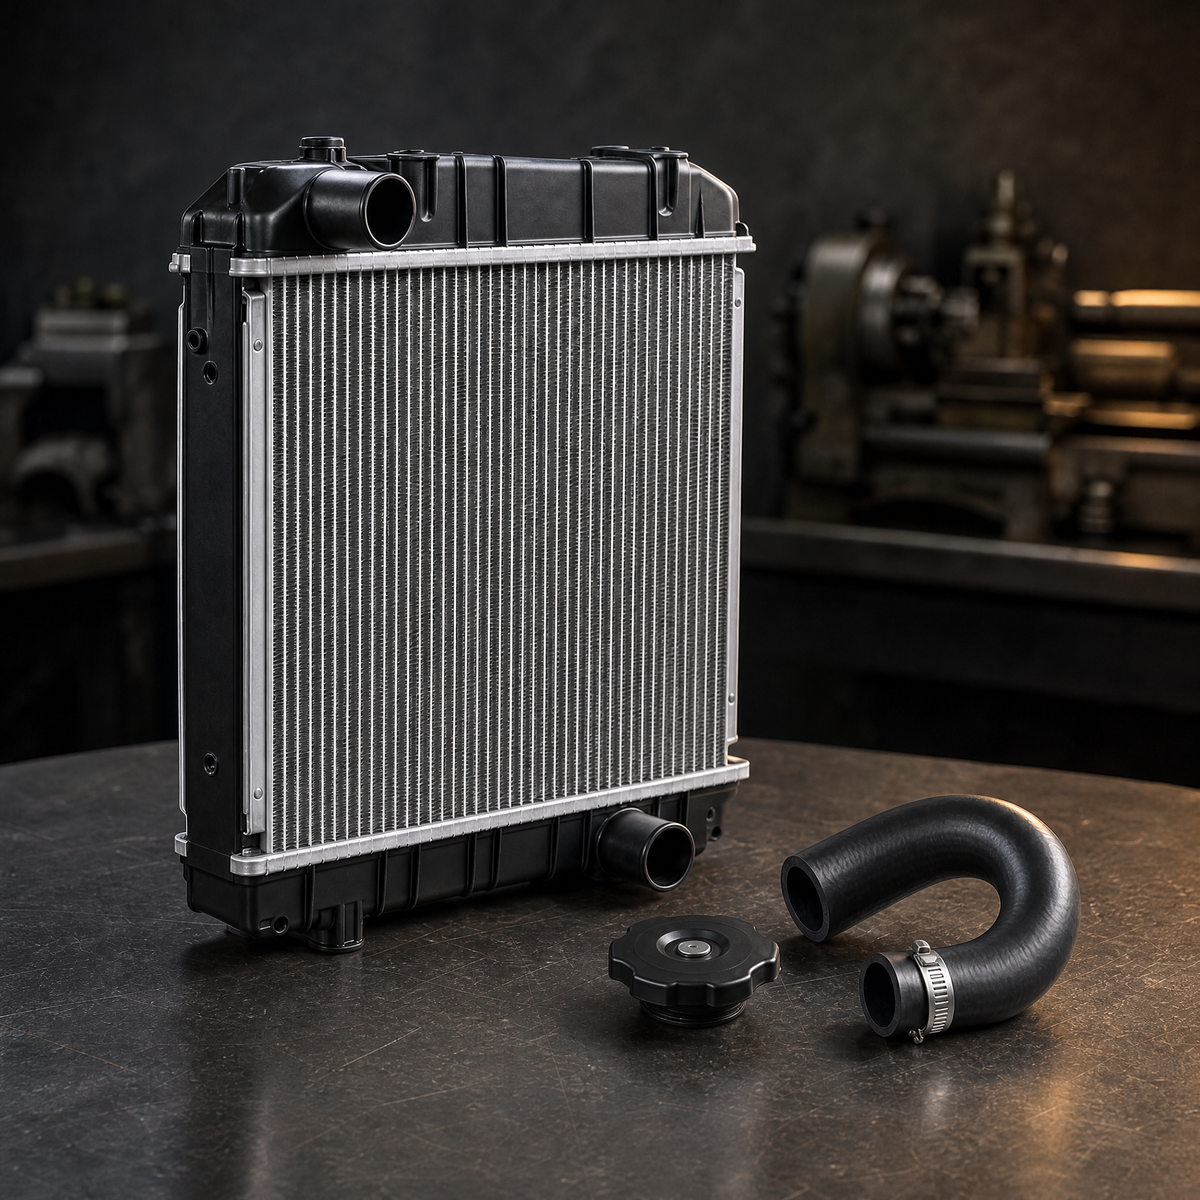
Kubota Radiator Replacement Guide (TD270-16010)
Short answer: Replacing a Kubota radiator is a half-day job if the machine is clean and you work in the right order: drain and capture the coolant, remove the fan shroud and hoses, unbolt the assembly, fit the new unit, then refill and bleed properly. The replacement itself is rarely what fails — it is skipping the flush, reusing a swollen hose, or leaving air trapped in the system. This guide follows the TD270-16010 assembly used on the Kubota DC70 combine, and the same sequence applies to the tractor and utility models listed at the end.
When a Kubota Radiator Needs Replacing
Not every overheating complaint means a new radiator. Work through this list before you order parts, because two of the three common causes are cheaper than the radiator itself.
Replace it when the core is physically compromised. Crushed fins, a cracked plastic tank, a seam that seeps under pressure, or impact damage from debris will not be fixed by cleaning. If the machine has been run with a failed water pump or a stuck thermostat, the core may also be blocked internally with scale that no flush will clear.
Repair instead when it is only blocked externally. On combines and tractors working in dust, the air side of the core packs solid long before the coolant side fails. Blow the core out from the engine side outward — always against the normal airflow — and recheck temperatures before condemning the radiator.
Check the cap and the thermostat first. A radiator cap that no longer holds rated pressure lowers the boiling point of the whole system and mimics a failing radiator. A thermostat stuck part-open produces the opposite symptom: slow warm-up and unstable temperature rather than outright overheating. Both are inexpensive and both are tested in minutes.
Tools and Parts You Need Before You Start
Gather everything first — a machine split across the yard mid-job is how bolts and clips get lost.
- The replacement assembly. For a DC70 combine that is the TD270-16010 radiator assembly. Confirm the number stamped on the unit you are removing before ordering; Kubota uses different radiator numbers across its tractor, utility and combine lines and they are not interchangeable.
- A new radiator cap matched to the system pressure rating.
- New upper and lower hoses, plus clamps. Reusing a hose that has already swollen or hardened is the most common cause of a leak within the first week.
- Coolant and distilled water in the ratio the machine's manual specifies, plus a clean drain pan large enough to hold the full system volume.
- A thermostat and gasket if the existing one is of unknown age — you are already in the cooling system.
- Hand tools, a torque wrench, and lifting support appropriate to the assembly's weight and mounting arrangement.
Safety first: never open a pressurised system while it is hot. Wait until the engine and radiator are cool enough to touch, then release the cap slowly in two stages. Coolant is toxic and stays hot far longer than the metal around it.
Step-by-Step: Removing the Old Radiator
1. Drain and capture the coolant
Park on level ground, lower any implements, and switch off. Put the drain pan under the lowest point of the cooling system and open the drain. Give it time — a full system drains slowly, and rushing it means coolant across the workshop floor. Note the colour and condition of what comes out: rusty or oily coolant tells you the system needs a proper flush, and it also tells you why the old radiator failed.
2. Disconnect the hoses, shroud and sensors
Label anything electrical before you unplug it — temperature senders and fan wiring are easy to mix up on reassembly. Remove the fan shroud first so the hoses have room, then loosen the clamps and work the hoses free with a twist rather than a pull. If a hose has bonded to the neck, cut it; a hose you were going to replace anyway is not worth damaging a fitting over.
3. Unbolt the assembly and lift it clear
Support the radiator before removing the last mounting bolt. Assemblies on this class of machine are heavier than they look, especially with residual coolant inside, and a radiator dropped onto the fan is a second repair. Lift straight up and away, keeping it upright so any remaining coolant does not run into the fins.
Installing the New Radiator
4. Mount and align before tightening
Set the new assembly in place, start all mounting fasteners by hand, then check alignment against the fan and shroud before you tighten anything. A radiator that is bolted down hard while slightly off-centre will run the fan into the shroud and crack a tank within a few hours of work.
5. Reconnect hoses, cap and fan
Fit new hoses with new clamps, seating them fully on the necks before tightening — a clamp tightened over a half-seated hose cuts it. Reconnect the temperature sender and fan wiring against your labels. Refit the shroud and check fan clearance by hand through a full rotation before you start the engine.
Refilling and Bleeding the Cooling System
Fill slowly through the filler neck with the correct coolant mix, and stop when the level reaches the base of the neck.
Then bleed the system. Air trapped in a Kubota cooling system is the single most common reason a freshly replaced radiator appears to fail immediately: the gauge reads hot, the engine derates, and the owner assumes the new radiator is faulty. With the cap off and the engine idling from cold, watch the neck as the thermostat opens. The level will drop as air works out — top it up as it does. Run until the cooling fan cycles at least once, then refit the cap.
Finally, confirm the heater matrix has also filled if the machine has one. A heater that blows cold after a radiator change is a system that is still air-locked.
First-Start Checks
Run the machine at working temperature and then let it cool completely — a full heat cycle matters more than a quick idle. Check:
- Level in the radiator neck and the recovery bottle, after it has cooled.
- Leaks at both hose connections, the tank seams and the drain.
- Temperature stability under load, not just at idle. A combine or tractor that holds temperature at idle but climbs under load is still air-locked or under-cooled.
- Fan operation and shroud clearance.
Common Mistakes That Cause Repeat Overheating
- Fitting a new radiator without flushing the system. Debris from the old failed unit circulates straight into the new core.
- Reusing old hoses and clamps. They have already taken a set for the old radiator's necks.
- Refilling but not bleeding. Covered above, and by far the most frequent.
- Mixing coolant types. If you cannot identify what is in the system, drain, flush and refill with one known product.
- Ignoring the water pump and thermostat. A radiator replaced over a failing pump will fail again. If the pump shows play at the shaft, has a weeping seal or is of unknown age, change it while the system is open.
- Wrong cap pressure rating. Too low and the system boils early; too high and it finds the weakest seal.
Which Kubota Radiator Fits Your Machine
Kubota does not use one radiator across its range, so match on the part number of the unit you are removing. Numbers that appear across the models we stock include:
- TD270-16010 — radiator assembly for the Kubota DC70 combine (rice harvester).
- 5H470-25200 — radiator assembly for the Kubota DC-60 / DC-68 combines.
- 1G958-72062 — coolant radiator for the Kubota D722 diesel engine.
- 3A151-17100 — radiator for Kubota M6800 / M6800DT / M6800HDC / M9000HDC.
- 6A320-5850 — radiator for Kubota J106 / Z482-B applications.
- 17476-72060 — radiator assembly for Kubota utility applications.
- T0430-16001 and 6C040-58522 — water tank radiators for Kubota GT23 and B1700 / B2100 / B2400 tractors.
Alongside the radiator you will usually need the accessories: the radiator cap numbers 15272-72020 / 15101-72030 / 15021-72632, the 370 mm plastic cooling fan 16299-74110 for V1505 / D1105 / D1305 engines, and the cooling water pump 17331-73030 for the L2850F / L2850DT.
Where to Buy the Right Kubota Radiator
WDPART supplies Kubota cooling assemblies cross-referenced by OEM number, so you can match the exact unit you are removing rather than ordering by machine description. Start from the radiator collection for assemblies and caps, or the wider cooling system collection for thermostats, water pumps and fans. The TD270-16010 radiator assembly for the Kubota DC70 combine is listed with its application data, and the cooling water pump for Kubota L2850F / L2850DT covers the pump you should replace at the same time. Radiator caps are here: 15272-72020 / 15101-72030 / 15021-72632.
If your machine is losing temperature control rather than coolant, work through the symptoms of a broken thermostat before ordering a radiator — and if you are already doing Kubota DIY work, our guide to replacing the Kubota fuel shut-off solenoid follows the same step-by-step format.
Bottom line: order by part number, replace the hoses, cap and thermostat at the same time, and bleed the system properly. Do those four things and a Kubota radiator replacement is a one-time job; skip any of them and you will be back in the same cooling system next season.


